Prerequisites
Create a folk account if you don’t already have one yet. Sign up here.Run your first API request
Step 1: Create a new API key
1
Go to the "API" section of your workspace settings
You can click on the “Settings” menu in the sidebar and then go to the “API” section or follow this link directly
2
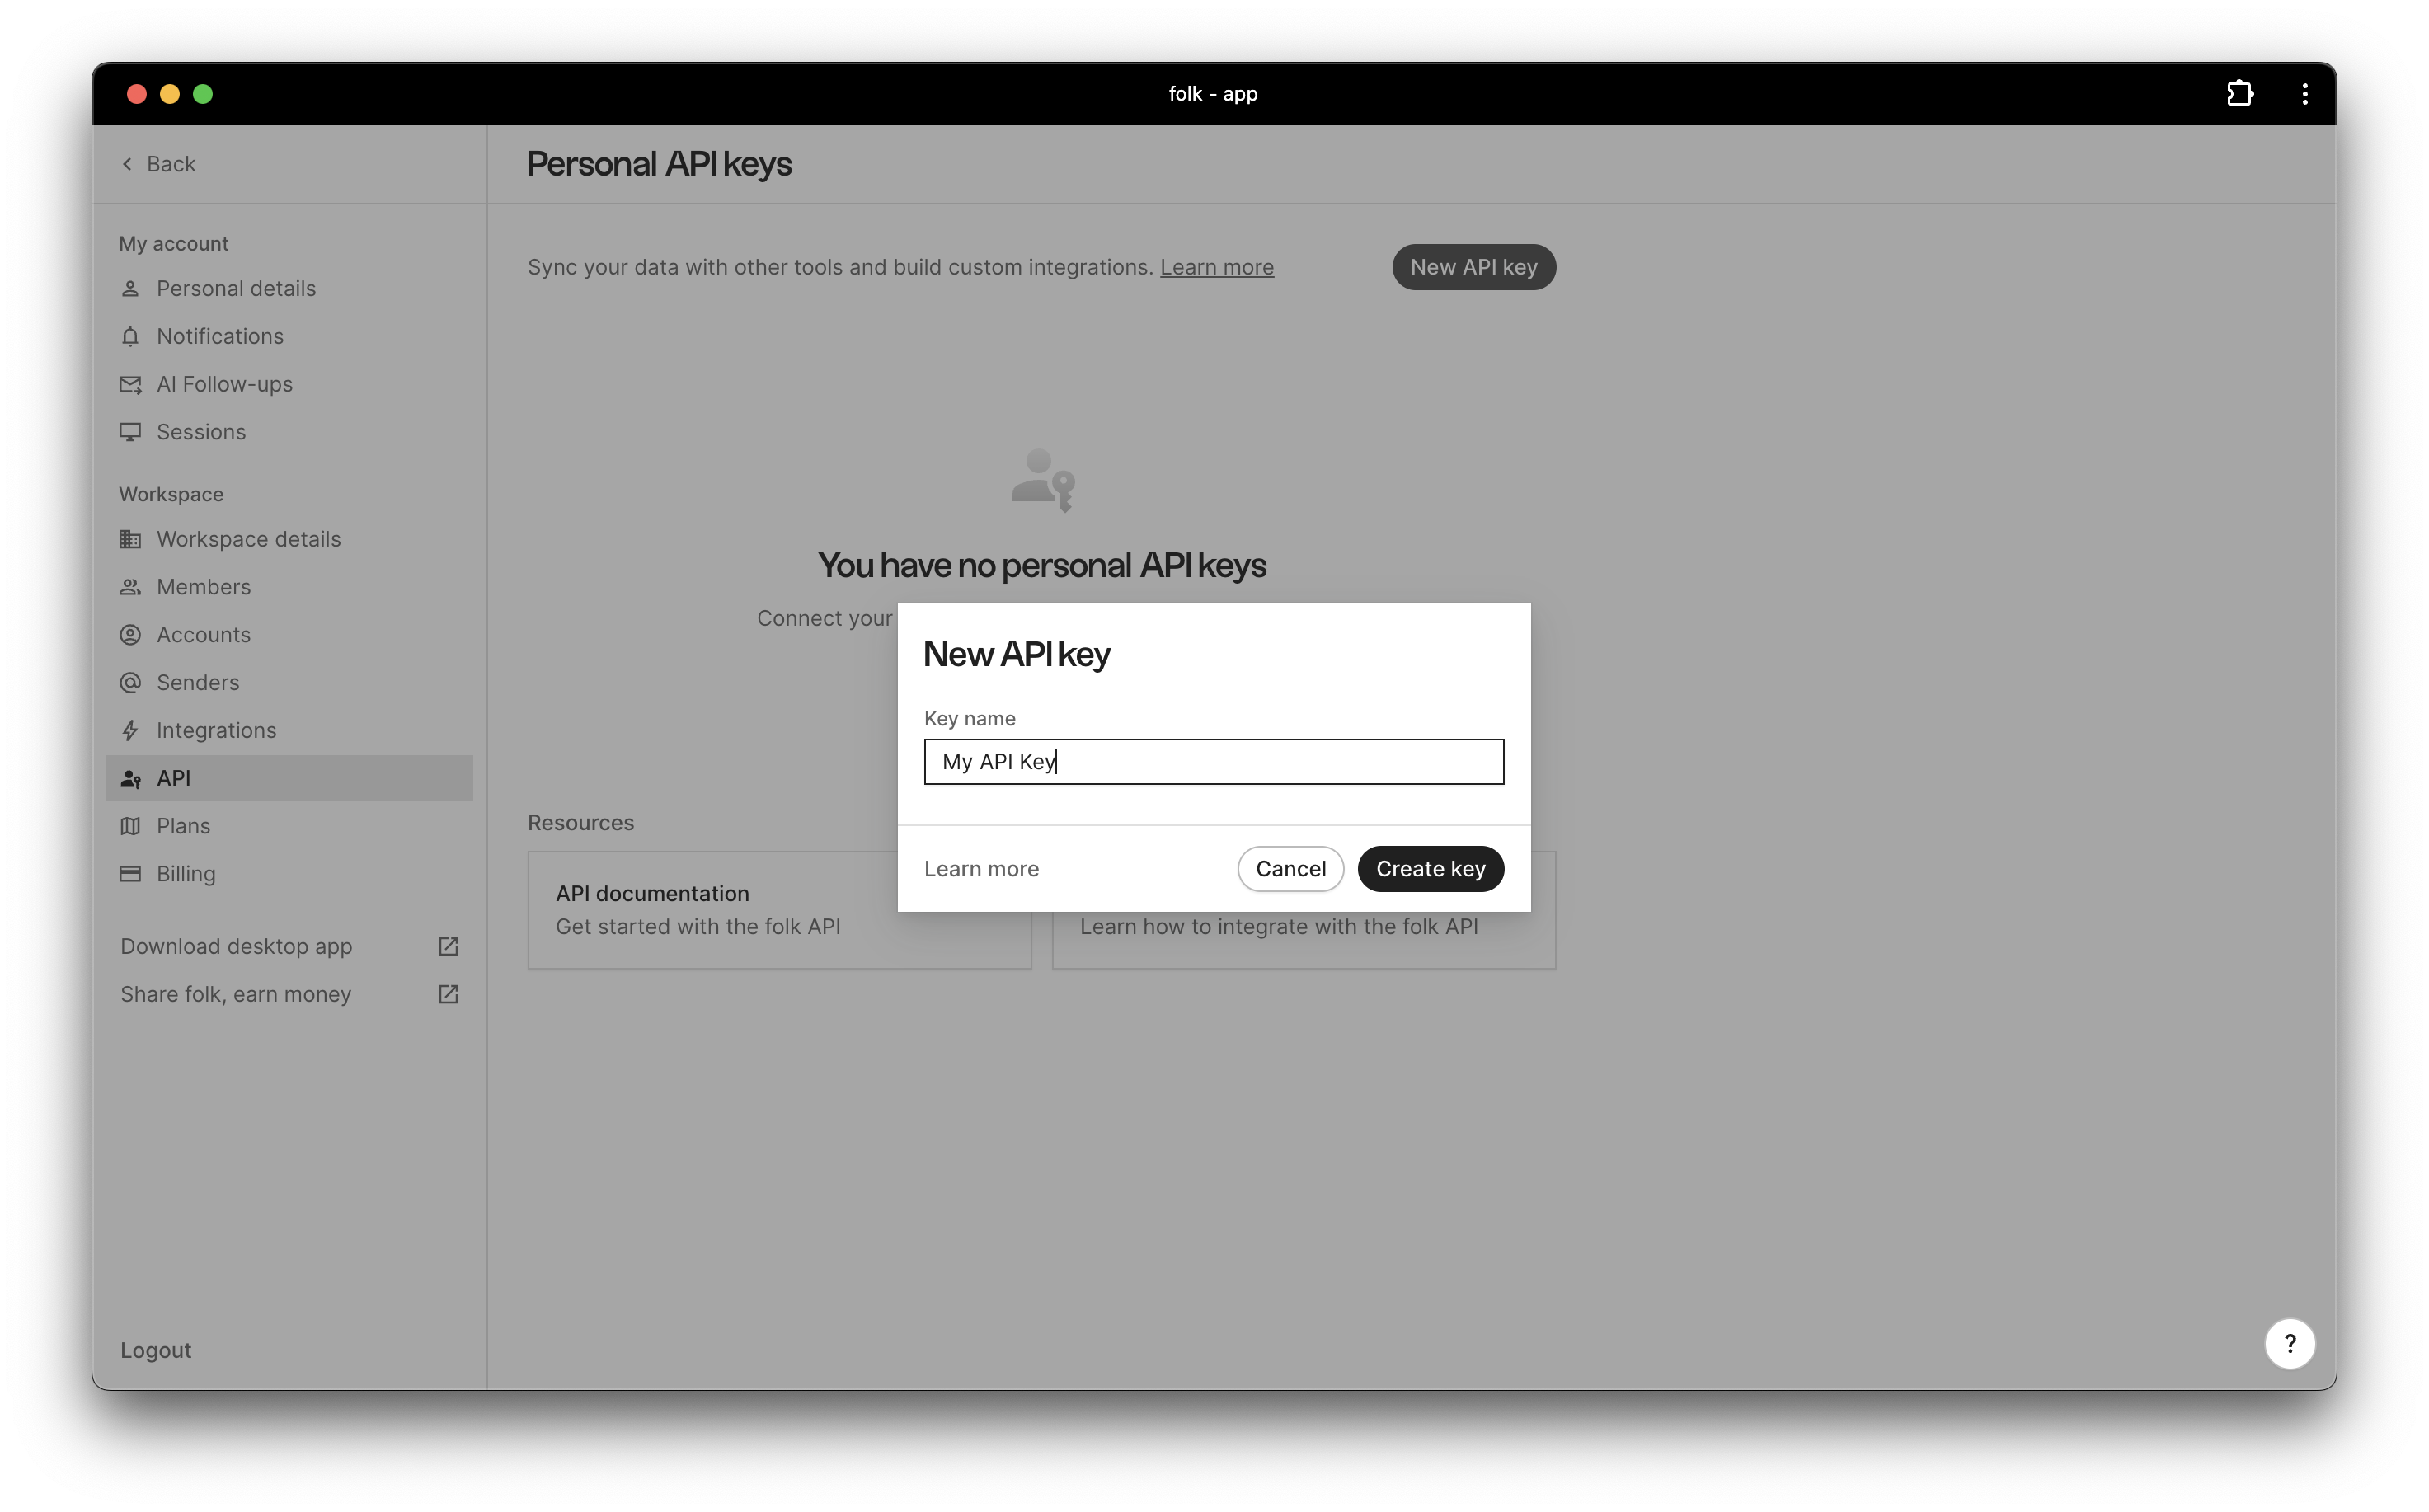
Click on "New API key", select a name, and create a new API key
3
Copy the API key and save it in a secure location

Step 2: Use your terminal to run your first API request
Every request to the API needs to be authorized so that the system can identify you. To authorize your request, you need to pass your API key in theAuthorization header using the bearer token scheme:
Remember to replace
YOUR_API_KEY with the API key you generated in step 1.Step 3: Create a new person in your workspace
Now that you know how to fetch information from your workspace, let’s try to add some new data.We are going to create a new person called “John Doe” with the following attributes:
- First name:
John - Last name:
Doe - Email:
john.doe@example.com - Groups:
Clients(idgrp_79b6ed73-9939-4118-ba65-7f8cdf401052)
POST method to send a request to the /v1/people endpoint.
Again, remember to replace
YOUR_API_KEY with the API key you generated in step 1 and the group id with the one you retrieved in step 2.
Next steps
Now that you have seen how folk’s API works, you can start building your own integrations.Before you start, we recommend to read about folk’s core concepts and data model in the next section. After that, you can check out the API reference to see the full list of endpoints and their documentation.